Your home is your biography and tells the story of who you are. I am here to help you write your next chapter.
9 tips to decorate your Christmas Tree like an Interior Designer.
Are you ready to learn how to decorate your Christmas Tree like a pro? I am sitting in my office today, Christmas tunes blaring, looking out at the beautiful sunny weather Melbourne is presenting us with and thinking to myself “how the hell is it Christmas time already!?” And “why is it so bloody warm, where’s the snow?” It’s fair to say that after nine long years of living away from home (Dublin), I have still not climatised to the fact that there will be no snowmen or snow angels this year. We won’t be curling up by the fire with hot whiskeys or Irish coffee’s, because we’ll be cooling off in the sea, with a goon bag instead!
I always get homesick at this time of year but I try to make the most of it with my orphan friends – my chosen family! It’s been a rubbish year to be frank, where we spent most of it in lockdown. Let’s make the most of this Christmas and have the best one yet! First things first, let’s get your tree looking swank-ay with nine tips (one for each year I’ve been here)!
…”All I want for Christmas is youuuu”…
Sorry about that. Mariah interrupted my train of thought. Where was I?
1. Decorate your Christmas Tree in your homes style
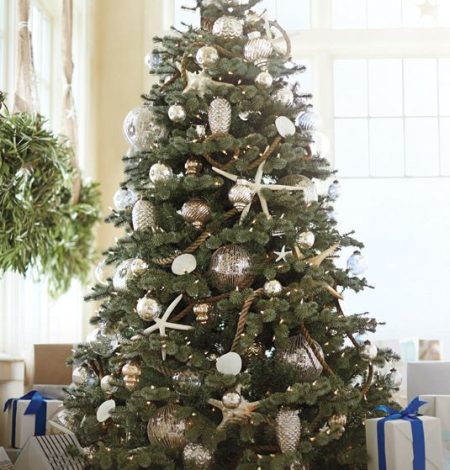
Most of us design our homes based on an Interior Design style. That might be Modern, Hamptons, Scandinavian, Traditional, Boho…whatever it is, bring that style into your tree too. You could consider some coastal ornaments or blue themed baubles for a Hamptons look, or stick with a woodland theme for your Scandi Tree, or maybe add some pampas grass and dreamcatchers for a boho look!
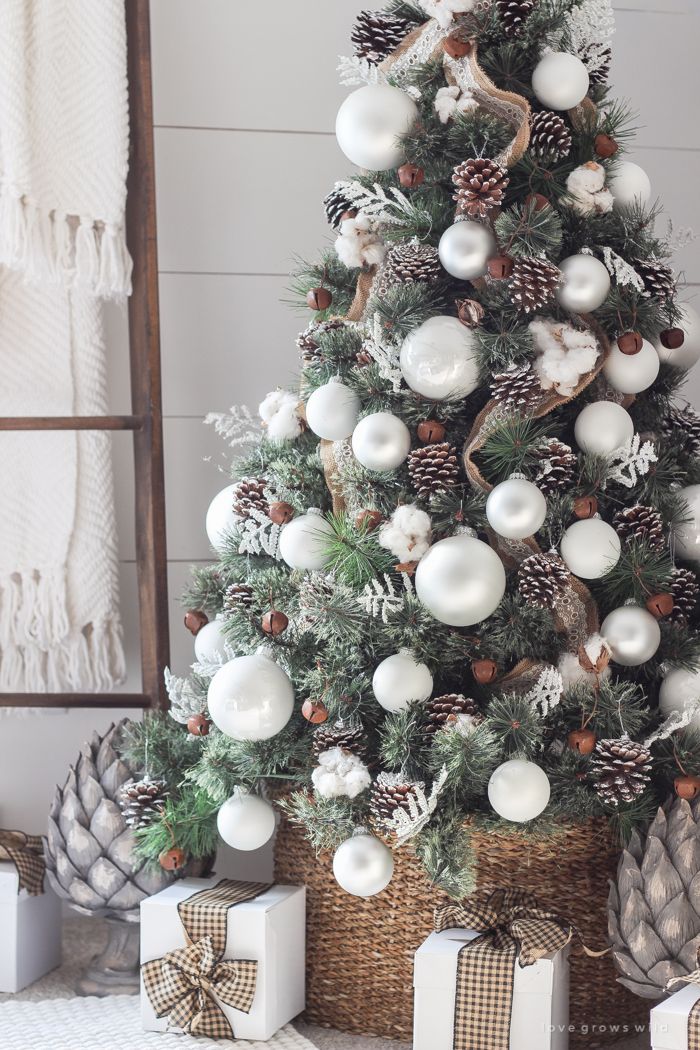
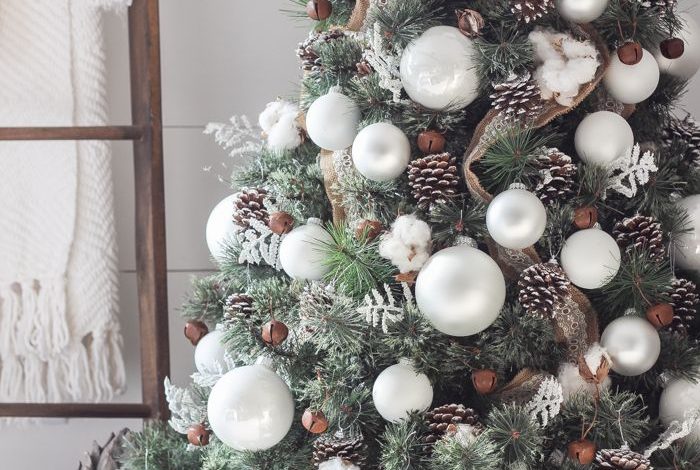
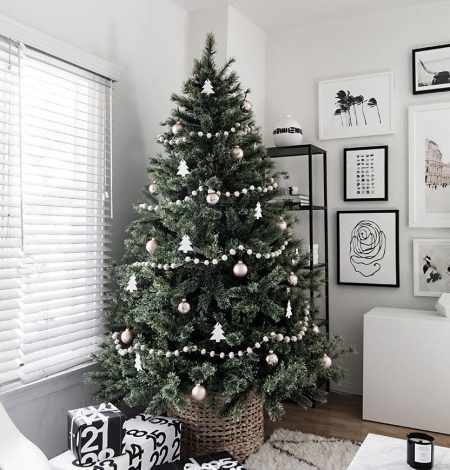
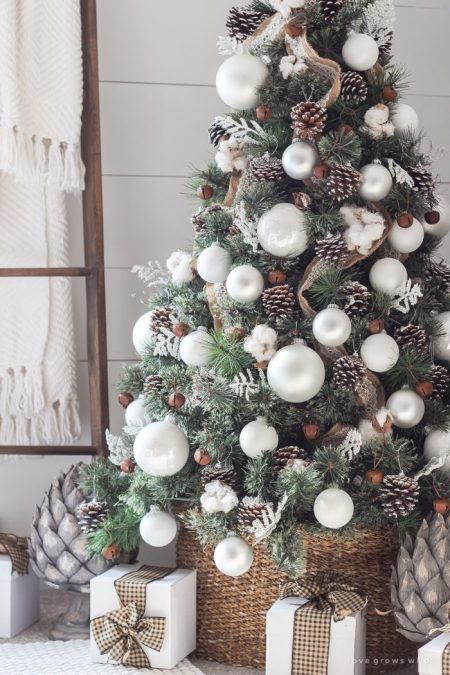
The idea here is to add a tree that compliments your home rather than fights with it. The finished result will feel thoughtfully planned and professional. If you have a miss-match of ornaments collected over time, you might be able to spray paint them to suit your colour palette? This is what I plan to do this year as I have recently become obsessed with a white textured finish, easily achieved with white paint and bicarb soda. I am going to change all my colourful baubles to a white textured look (to replicate a similar look to the feature image at the top of this blog).
…”You scumbag, you maggot, you cheap lousy”…
Whoops, lost me again there, sorry about that!
2. Add unique decorations to your Christmas Tree
This is a sure way to make your tree look more stylish and professional but more importantly unique! Think outside the box here. I am not against you buying your baubles from cheap and cheerful stores, but do make sure you add some more unusual pieces to the mix. Here are a few examples I have seen done/used over the years:
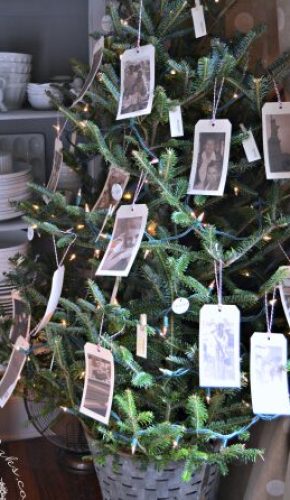
- Add home photo’s to the tree
- Throw your Christmas crackers onto the branches until D-Day.
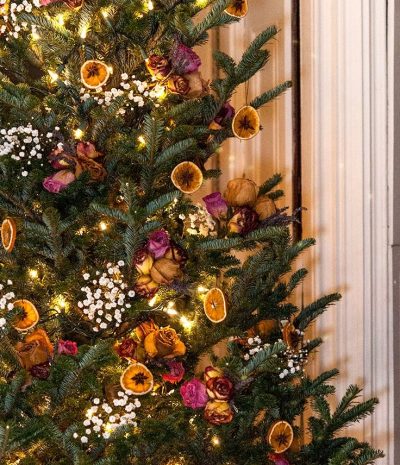
- Attach some natural items such as dried flowers (baby’s breath works wonders), dried fruit and berries, Faux flowers, Christmas lollies (or sweets as us Paddy’s say).
- Oversized ornamental flowers or bows
- Don’t be afraid to pop some ornamental items amongst the tree.
- Stuffed animals (for the young ones)
- Add large letters to spell words like “Joy, Noel, Jolly”.
3. Drop the tinsel.
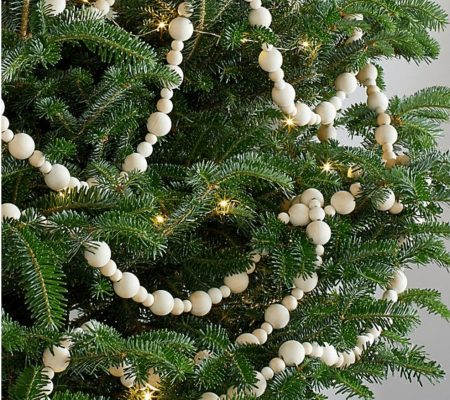
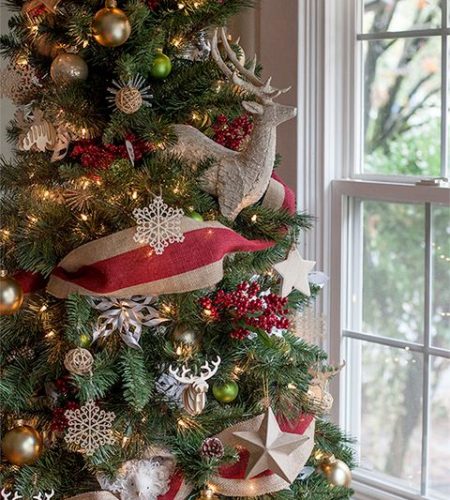
There was a time and a place for tinsel, I agree. But just like leg warmers and blue eye shadow, those days are gone. Out with the old and in with the new and improved beaded garlands and thick ribbon to decorate your Christmas tree. Now, I’m not talking about the small metallic beaded garlands that complimented our 90’s tinsel, I’m talking about bigger, natural beads that add a new layer of texture to your tree. These beads are beautiful for a more casual looking tree but if you wanted a more formal or traditional look, then grab yourself some beautiful thick ribbon in a material of your choice. You could do silk, satin or velvet and drape it around or up and down your Christmas tree as you like.
…”But as long as you love me so. Let it snow, let. it snow, let it snowww”…
Maybe I should turn the music down so I can stay focused…
4. Choose the right lights for your colour scheme
Where I come from, Christmas lights are always a yellow undertone which provides a warmer glow. This makes sense when it is cold outside but I am mindful of the fact that we will be reaching close to 40 degrees within a few more weeks so that point alone is not valid here.
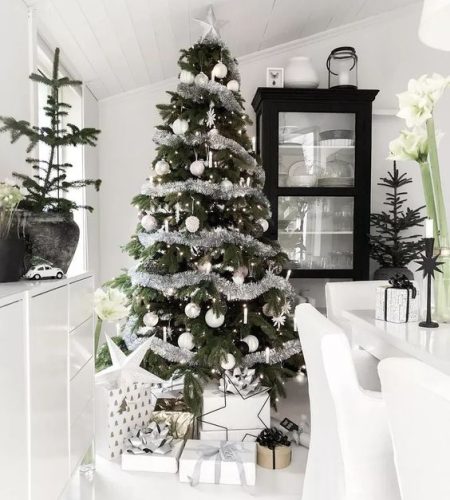
If you have decided to go with a cooler colour palette for your tree (white, grey, blue, purple, pastel, silver), then you might find cooler blue lights to be more complimentary to your look. However, if you have gone for warmer colours (red, green, brown, gold, yellow, pink, orange), then go for warm lights! Keep warm with warm and cool with cool.
…”All of the other raindeers, used to laugh and call him names (like pinocchino)”…
Sorry, this is just how it’s going to be for the rest of the blog now. Enjoy the tunes with me.
5. Be consistent with your colour scheme
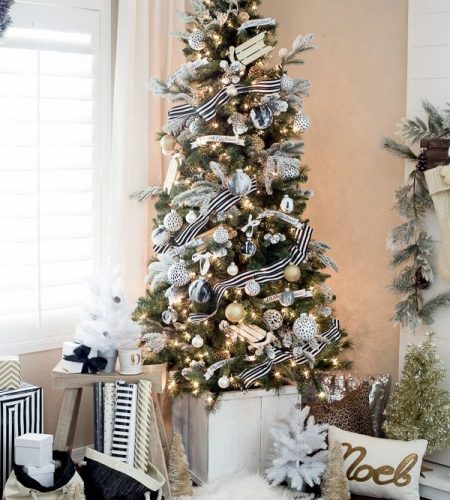
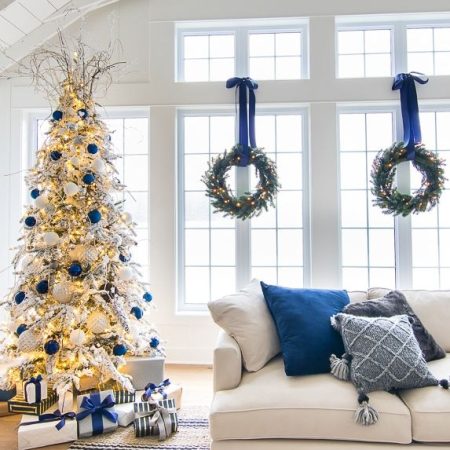
Okay, similar to point one (match your interior design style), your tree decorations should also match your room’s colour scheme. If you have a Hamptons home with a white and blue colour scheme, then you could decorate your Christmas tree with those colours too (as below). Or if you have a monochromatic neutral palette, then you could go for a snowy look, with metallic ornaments. Or maybe you have a Scandi home? If so, you could do a wooden theme with pops of black and white.
6. Big boxes wrapped beautifully under the tree
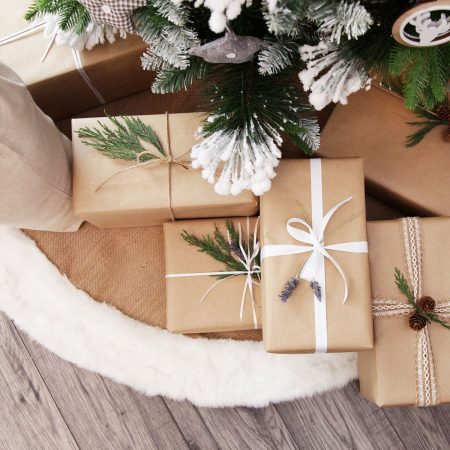
If you are one of those SUPER organised people and get your shopping done well before Christmas week, then kudos to you. You can go ahead and wrap them up in “strategically planned” Christmas wrapping paper. This detail is crucial if you want to decorate your Christmas Tree like an Interior Designer. We can’t have any snowmen, Santa’s or puddings on this paper…its just not the look we’re going for here.
Less is more for our gifts. And I mean that in the volume of your gifts too. We want nice big gifts under the tree because bigger scales always feel more luxurious. Too many little gifts will just feel cluttered – god, I sound like a right little grinch, don’t I?
If you do have lots of small gifts, don’t stress. I have a solution for you. Wrap them up as normal, put them into a shoebox and then wrap the shoebox so that you have a bigger box to add under your tree. Ta-da! You can also do this if you need to add fake presents under your tree. Not everyone gets their shopping done in time for their Christmas tree (like me).
…”dinga-linga-linga-ding-dong-ding!
dinga-linga-linga-ding-dong-ding!”
7. Modernise your star
Some people use stars, others use angels. I say use whatever you want to use. Go for a frying pan if it works with your concept (don’t really). You can be original here. I’ll share some ideas with you that I have seen done, and look great:
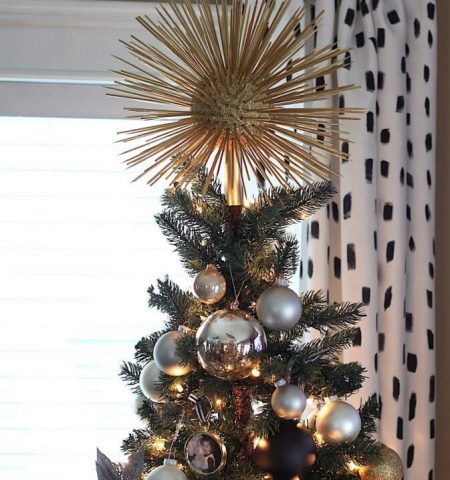
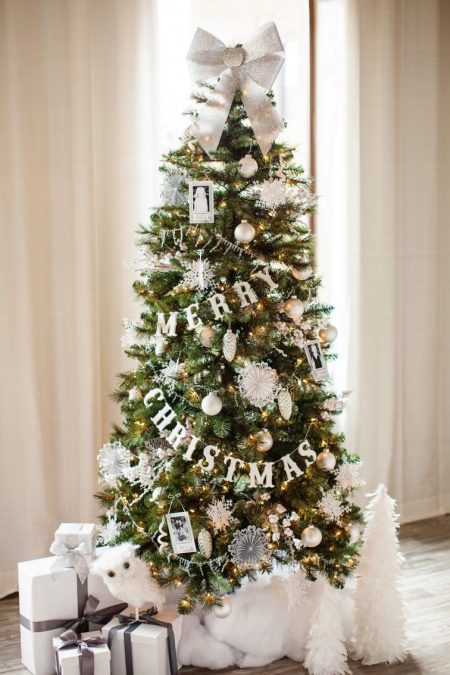
- Simply modernise your star/angel (image below)
- Suspend your star from the ceiling above rather than attaching it to the tree itself. It will move around and reflect just like a real star.
- Add a huge bow
- I’ve seen a simple Santa hat or Santa’s legs (like he has dived into your tree).
- A huge snowflake or unusually shaped ornament
- Oversized flower
…”Rockin around the Christmas tree, have happy holiday”…
8. Balance & Scale required to decorate your Christmas tree
In my other blogs, you would have seen me write about the importance of scale. Our eyes like to see different shapes and sizes for a complete look. The same comes with decorating your Christmas tree. Make sure you are adding a good mix of small, medium and large items to your tree for a more interesting look. We want to look at you your tree and see something different each time. Scale helps with that.
When decorating your tree, don’t plan it at random. This is a common mistake! Once you get your lights and garland up (if using one), make sure you start adding your ornaments from the top-down, considering all angles. Divide your ornaments into three piles: small, medium and large. Start with the large ornaments spreading them out evenly until they are all gone. Move onto the medium next and finally, fill in the gaps with the small decorations.
…”Last Christmas I gave you my heart, but the very next day, you gave it away”…
9. Add focal points
Last but not least, add a handful of ornaments to your tree that will be a real statement. These ornaments will stand out from the rest and steal the limelight initially, so naturally, they should be the most expensive decorations on your Christmas tree.
This is the same concept as adding a focal point to each room (you can read more about focal points in my blog “How to choose art for your home“). You might have seen people using oversized flowers, bows or big letters? Less is more with these items, so only add 8-10 of these max.
…”Well I wish it could be Christmas every dayyy”…
Thats it folks...
By now, you should be qualified to decorate your Christmas Tree like an Interior Designer! But most importantly, please don’t feel like you have to throw your old decorations away to start fresh. If you have a lot of Christmas decorations that don’t work for your interior style, you don’t have to throw them away. Maybe you can give them a new look with spray paint? Or hang them on a branch and place it on a bare wall somewhere? Or maybe you could chuck a load of old baubles into a beautiful tall vase and create a centrepiece for your dining table! Hang onto the old memories, while we create new ones.
…”He sees you when you’re sleeping, he knows when you’re awake. He knows when you’ve been bad or good, so wear your mask, for goodness sake!”…
Cheers Dan <eye roll>
My best memory of putting up our family tree as a kid was placing the angel on top of the tree. Not because it was the final piece to the puzzle or most beautiful treasure of all, but because our porcelain angel had a barbies head stuck onto its body!! One year, our cat climbed up the tree, knocked the angel off and smashed her head into smithereens. Instead of getting a new angel (like most normal people), my dad thought it would be funny to add a barbies head to the angel’s body. It’s little memories like this that make Christmas so special.
I hope that I am one of the first people to wish you a very Merry Christmas and Prosperous New year! Things can only get better right? Thanks for reading, I need a hot whiskey now.

Tracey Bright
< Click my face to get in touch.
If you learned a thing or two, share this blog on your socials below.
